

This guide will help you with how to Customize Player Banking Settings on your Schedule 1 Server
Click here to order your Schedule I server with Citadel Servers today!
In Schedule 1, customizing player banking settings allows you to adjust how players manage their in-game finances on your dedicated server. Whether you want to create a more convenient multiplayer experience or tailor the game's financial mechanics to suit your community's preferences, modifying the available banking options can help you achieve your desired gameplay experience. By configuring these settings, you can customize how banking works for players and establish an environment that aligns with your server's overall progression and economy. In this guide, we will walk you through the steps to customize player banking settings on your Schedule 1 server using your server's configuration files. Before making any changes, we recommend stopping your server and creating a backup of the relevant configuration files to help prevent accidental data loss. Once the necessary adjustments have been made, you can restart your server and check whether the updated settings are applied correctly.
Managing Player Bank Settings
1. Log in to your Game Control Panel.
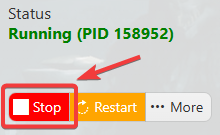
2. Before making any modifications, stop the server from running by clicking the Stop button.
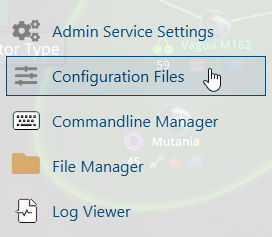
3. Navigate to the Configuration Files section.
4. In the configuration files, locate the Enable Per Player Bank Accounts setting and select your preferred option.
Enabled: Separate player money
Disabled: Shared player money
If set to Enabled, locate the Default New Bank Money setting and specify the starting cash amount for new players.
5. After editing, click Save to apply the changes.