![]()
This guide will help you update and run your Project Zomboid Server to the latest version!
Click here to order your Project Zomboid server with Citadel today!
Keeping your Project Zomboid server updated is crucial for compatibility with new content and features, bug fixes, and security patches. This also prevents errors and issues like the server not showing up in the in-game list. This step-by-step tutorial will teach you how to update your Project Zomboid server to the latest version.
Please follow these steps:
1. First, login to the Game Panel (click this link for easy access) then go to your Game Service. On the left hand side panel, go to the Server Updater section.
2. On the Server Version Type section, select which version you want to install. If you want the latest version, select Standard (Public). Press Execute once you've chosen the version you want. The updater will automatically stop your server to start the update process.
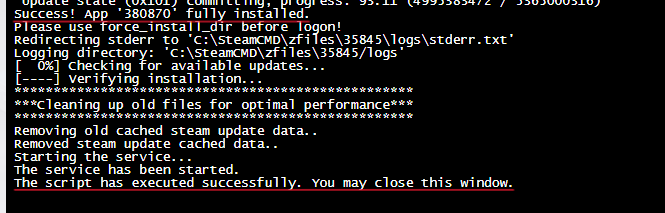
3. You will receive the following message on your screen once the update has finished.
4. On the left hand side panel, go to the Commandline Manager section.
5. Select the version you want to start and click apply. (i.e. Project Zomboid Version 40+)
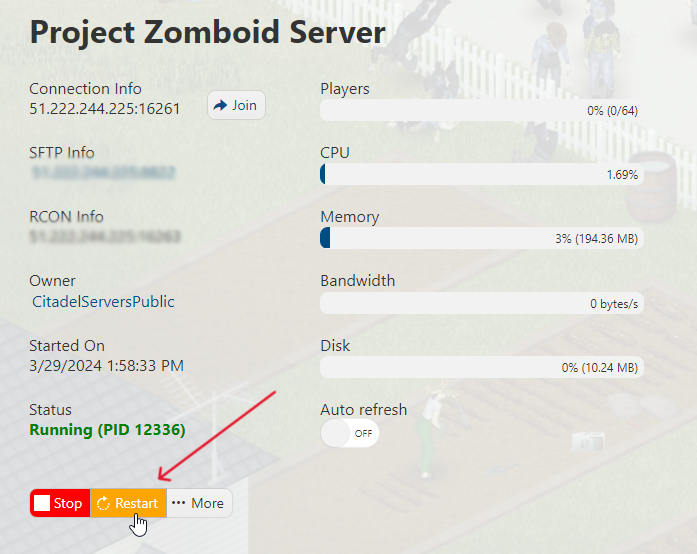
6. Head back to your Game Panel and restart the server by cliking on the "Restart" button. This ensures the changes made takes effect. Once running, you may now join your newly updated Project Zomboid server!
FREQUENTLY ASKED QUESTIONS (FAQ)
I can't find my server in the in-game list. What do I do?
Make sure your server is up to date by following this guide. Have you also set an admin password in the Web Console? If not, follow this guide! Failing that, are you sure the name you are searching for is currently assigned? See this Configuration guide to make sure.
How do I connect to my Project Zomboid server?
There are three ways to connect to your Project Zomboid server. (Click this link for a more detailed guide) First is via your Game Panel and click the Join button next to the IP Address. The second way is to add the Connection Information to your Steam favorites and connect from there. The last way is to join in-game using the same Connection Information.
How do I update my Project Zomboid server?
There are several steps you must follow to properly update your Zomboid server. You can do this by following this guide.
How do I Set a Password for our Project Zomboid server?
You'll learn how to add a server password by following this step-by-step guide.
How do I setup Whitelist in my Project Zomboid server?
This guide shows you how to setup whitelist in your server.
Why won't the changes I make in Configuration Settings save?
Changes in the Configuration Settings while the server is running will not be applied. You must always stop the server first for the changes to save and take effect.
How do I add Admin users in my Project Zomboid server?
Follow this guide to add Admin users in your server. In the guide, you will see the different level of access and permissions of the admin levels.
My mods aren't working. Help!
Check this mod installation guide out and see if you've missed any steps. If you've followed them and still has issues with the mods, read up this troubleshooting guide. If that still fails, submit a ticket and our technical support team will assist you!
