
This guide walks you through setting up a Discord bot, including creating a Discord application, configuring the bot, enabling necessary intents, and inviting it to your server.
By following these steps, you'll ensure your bot functions properly and has the required permissions to interact with your server and its members.
Order an ARK Ascended Discord Bot Server today with Citadel Servers
Creating the Discord Application
Step 1 - Open Discord Developer Portal
Go to the Discord Developer Portal and log in with your Discord account.
Step 2 - Create a New Application
Click on the New Application button. Give your application a name and confirm by clicking Create.

Step 3 - Configure Application
In the application settings:
General Information: Review and customize the application's name and description.
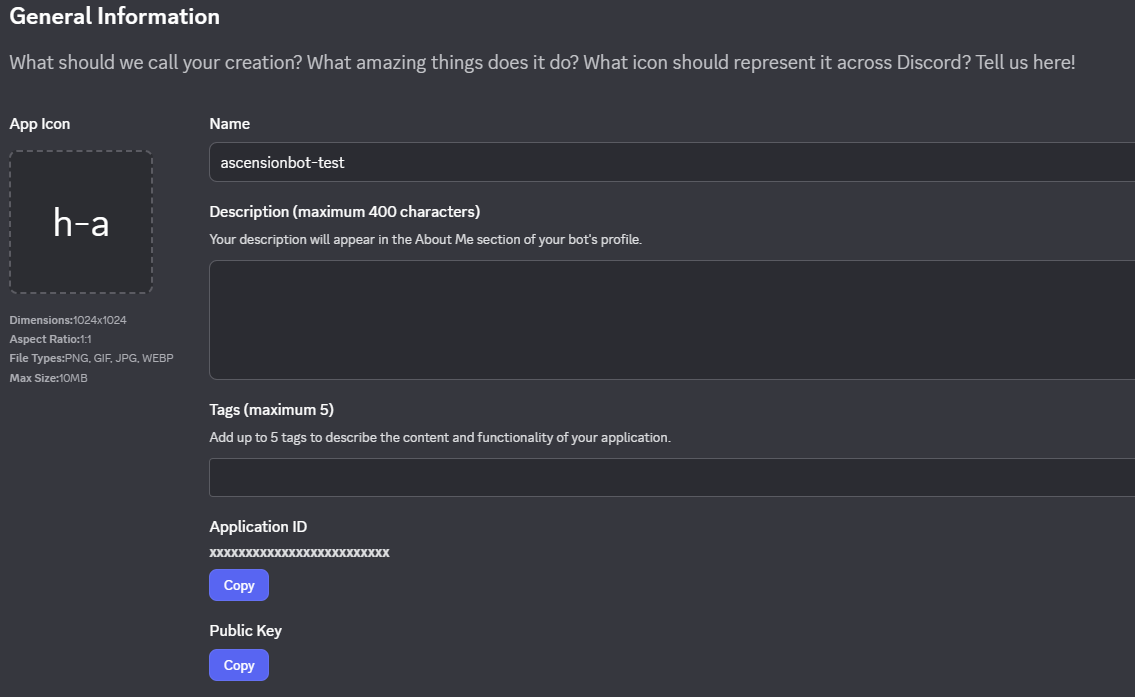
Bot: Navigate to the Bot tab, and you can set the bot's username and profile picture.

Step 4 - Copy the Bot Token
In the Bot settings, find the reset token under the Token section. Copy and paste this token into a text file for later.

Enabling Intents
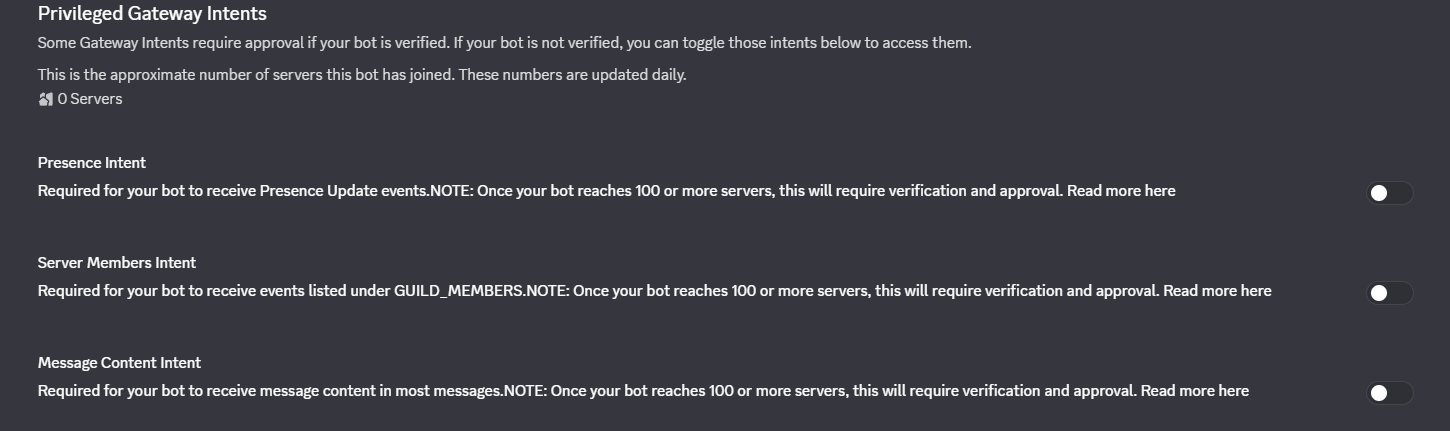
Enable Required Intents
In the bot settings under the Bot tab, you will find a section for Privileged Gateway Intents. Enable all the intents:
PRESENCE INTENT: Required for your bot to receive presence updates.
SERVER MEMBERS INTENT: For operations related to server members.
MESSAGE CONTENT INTENT: If your bot needs to read message content.
Inviting the Bot to Your Server
Step 1 - Generate Invite Link
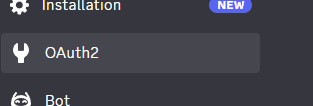
In the OAuth2 tab
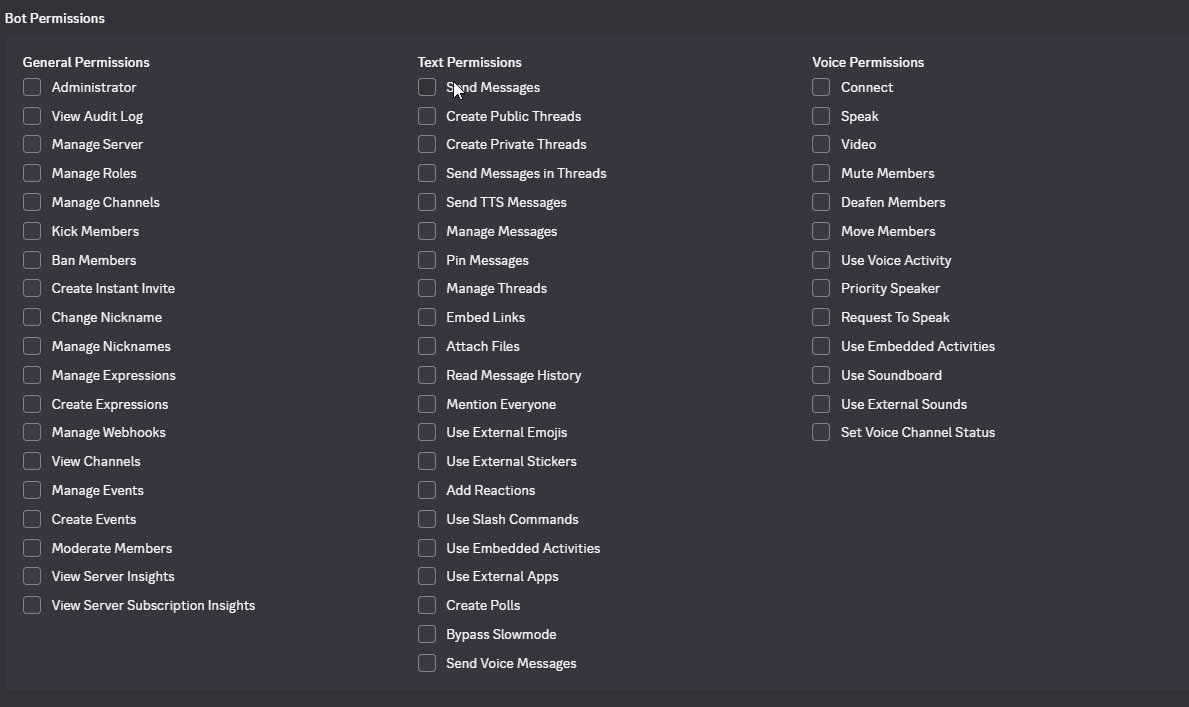
Under Scopes, select bot.
Under Bot Permissions, select the permissions your bot needs.
Step 2 - Copy and Use the Invite Link
After selecting the appropriate scopes and permissions, an invite link will be generated at the bottom of the scopes section.
Copy this link and open it in a web browser to invite your bot to your Discord server.
Step 3 - Example Invite Link
client_id: Replace the YOUR_BOT_CLIENT_ID with the application id of the bot.

Did the above information not work for you?
Please click here to contact our support via a ticket.
