
This guide will help you learn the Step-by-Step Guide to Setting Up Permissions on your Hytale Server.
Click here to order your Hytale server with Citadel Servers today!
Setting up permissions is one of the most important steps in managing a Hytale server. Properly configured permissions ensure that players have the right level of access, protect your server from misuse, and make administration smoother for everyone involved. With LuckPerms, a powerful and flexible permissions plugin, you can easily create groups, assign roles, and fine-tune commands to match your server’s needs. This step-by-step guide will walk you through the process of setting up permissions on your Hytale server. Whether you’re a beginner learning the basics or an experienced admin looking to refine your setup, you’ll find clear instructions and best practices to help you manage your community effectively. By the end, you’ll have a well-structured permissions system that keeps your server secure, organized, and enjoyable for all players.
Managing Permissions on Your Hytale Server Made Easy (Console)
1. Log in to your Game Control Panel and navigate to your service.
2. Navigate to the Web-Console Tab.

3. In the Web-Console tab, enter the desired command. Multiple permissions are separated by a comma.
| Command | Description |
/perm user list <uuid> |
Displays all permissions of the user. |
/perm user add <uuid> <permissions> |
Adds permissions to a user. |
/perm user remove <uuid> <permissions> |
Removes permissions from a user. |
/perm user group list <uuid> |
Displays the group permissions of a user. |
/perm user group add <uuid> <group> |
Adds the user to a group permission. |
/perm user group remove <uuid> <group> |
Removes the user from the group permission. |
/perm group list <group> |
Displays all permissions from a group. |
/perm group add <group> <permissions> |
Adds permissions to a group. |
/perm group remove <group> <permissions> |
Removes permissions from a group. |
How to Set Up Permissions on a Hytale Server (Files)
1. Log in to your Game Control Panel and navigate to your service.
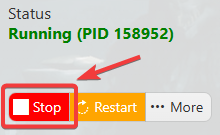
2. Before making any modifications, stop the server from running by clicking the Stop button.
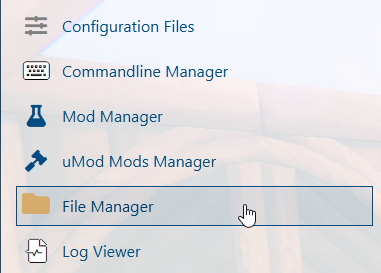
3. Navigate to the File Manager Tab.
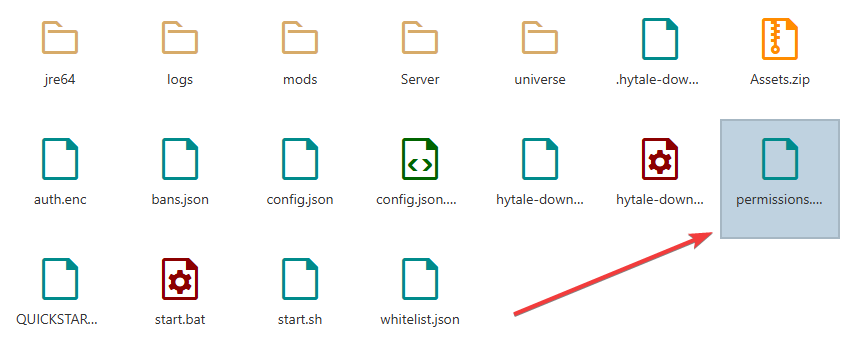
4. In the File Manager, open the permissions.json file.
5. Inside the "users" curly brackets{}, enter the permissions you want to assign to the user. Use the following format, and separate each permission with a comma ,:
"PlayerUUID": {
"permissions": [
"perm1",
"perm2"
],
"groups": [
"group1",
"group2"
]
}
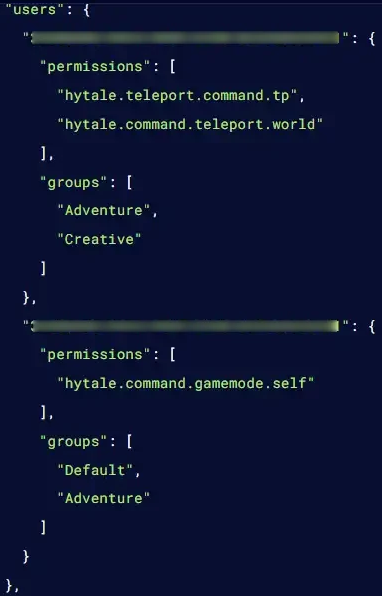
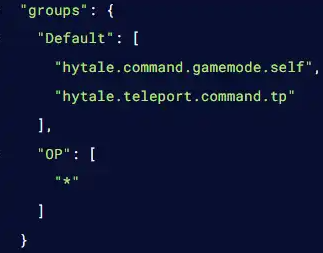
6. Inside the "groups" curly brackets{}, specify the permissions you want to assign to the group. Use the correct format and separate each permission with a comma ,.


Please click here to contact our support via a ticket.
