
Enhancing your ASKA server with plugins is a powerful way to customize gameplay, improve server management, and introduce new features tailored to your community. Whether you're adding quality-of-life improvements, administrative tools, or gameplay tweaks, plugins allow you to shape the ASKA experience to fit your vision. This guide will walk you through the process of installing plugins on your ASKA server, step by step. We'll cover where to place plugin files, how to verify compatibility, and how to ensure they load correctly with your modding framework typically BepInEx. By the end of this tutorial, your server will be ready to run custom plugins, giving you full control over your multiplayer environment.
(NOTE: In order to install plugins you need to install first the Bepinex Mod.)
Installing Plugins on your ASKA Server
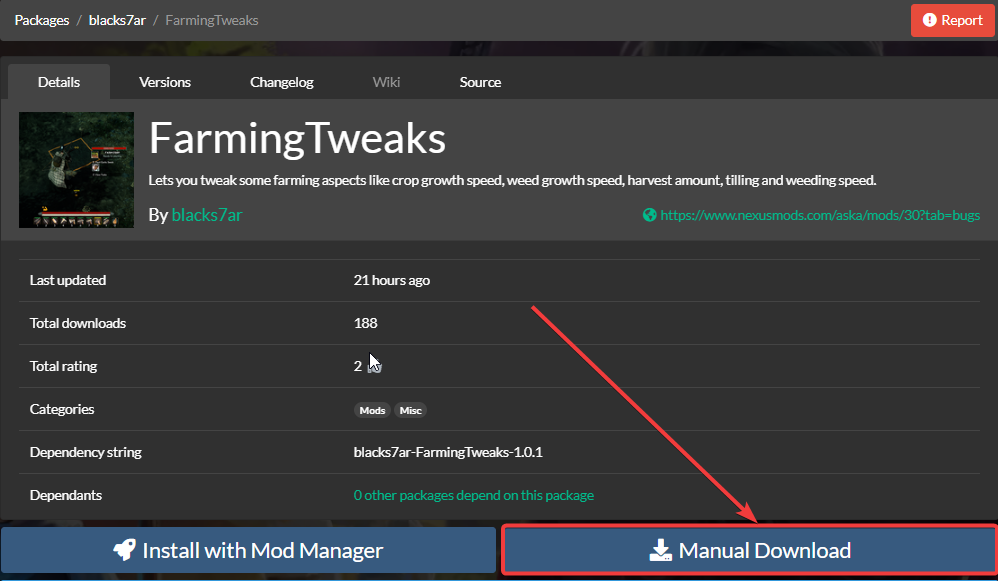
1. Go to Thunderstore.io and select the plugins that you wanted to install on your server.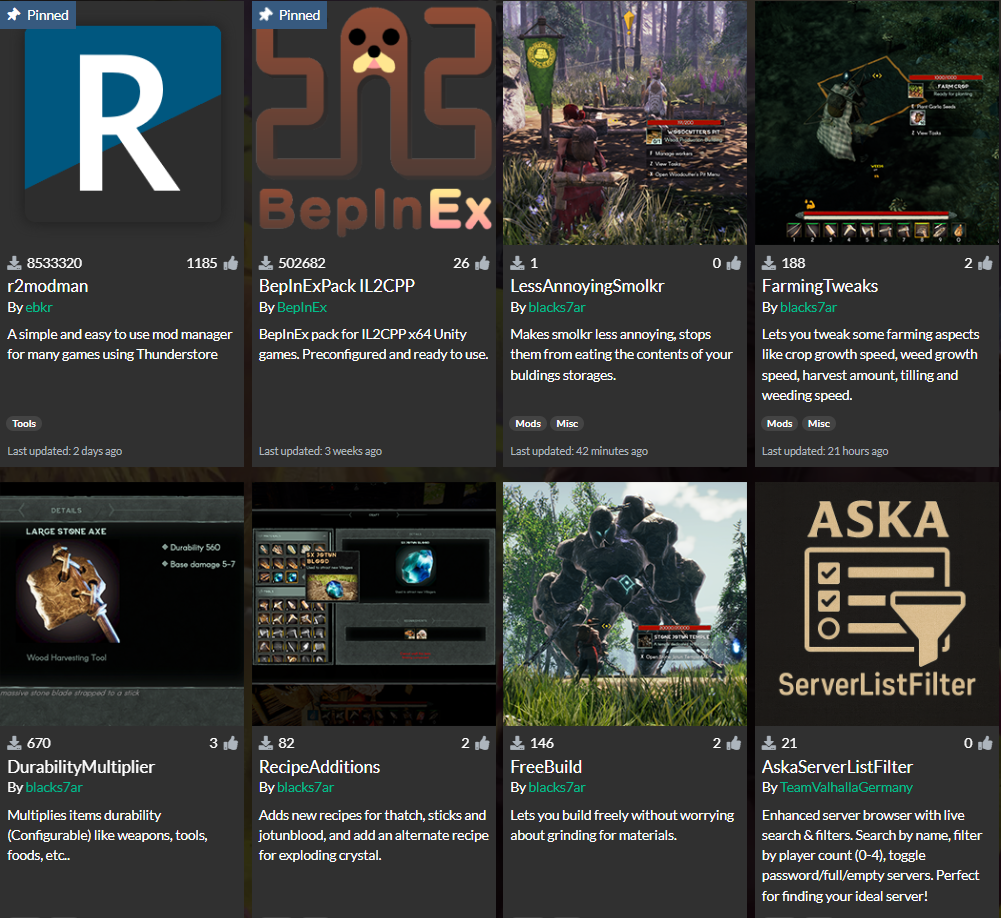
2. Download the .zip files of the plugin.
3. Log in to your Game Control Panel and navigate to your service.
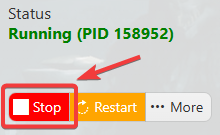
4. Before making any modifications, stop the server from running by clicking the Stop button.
5. Navigate to File Manager.
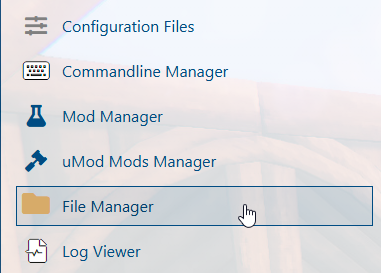
6. On the File Manager, go to /bepinex/plugins folder and put the .dll files of the plugins. When transferring files, we highly recommend you to use FTP like Filezilla for more faster and secured file transfers.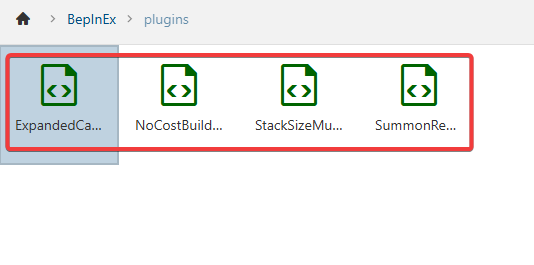
7. Start the server and to fully install the plugins on the server.
Did the above information not work for you?
Please click here to contact our support via a ticket.
