This guide will show you how to Change Missions in your Arma Reforger Server.
Order an ArmA Reforger Server today with Citadel Servers
Changing Missions on your Arma Reforger Server
1. Log in to your Game Panel and Navigate to your Arma Reforger Settings.
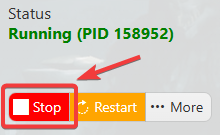
2. Stop the server before making any modifications by clicking the Stop button.

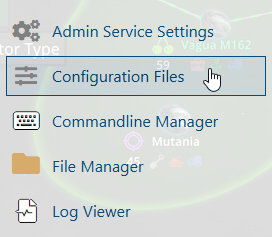
3. Access the Configuration Files Tab.

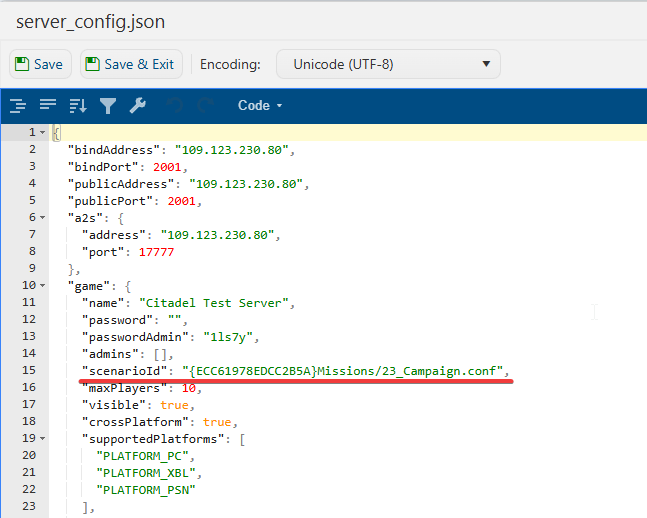
4. In the configuration files, locate server_config.json, which contains general server settings. Click Text Editor next to the Config Editor.

5. Locate the "scenarioId": Line and Replace the current ID with the new Scenario ID that you wanted to play.
See the list of official scenarios and their corresponding IDs (below)
| Name of scenario | Scenario ID |
| Conflict – Everon | {ECC61978EDCC2B5A}Missions/23_Campaign.conf |
| Game Master – Everon | {59AD59368755F41A}Missions/21_GM_Eden.conf |
| Tutorial | {90F086877C27B6F6}Missions/99_Tutorial.conf |
| Game Master – Arland | {2BBBE828037C6F4B}Missions/22_GM_Arland.conf |
| Conflict: St. Philippe & Morton | {C700DB41F0C546E1}Missions/23_Campaign_NorthCentral.conf |
| Conflict: Morton & St. Pierre | {28802845ADA64D52}Missions/23_Campaign_SWCoast.conf |
| Combat Ops: Arland | {DAA03C6E6099D50F}Missions/24_CombatOps.conf |
| Conflict: Arland | {C41618FD18E9D714}Missions/23_Campaign_Arland.conf |
6. After editing, Save the file for the changes to be applied on your server.
7. Start the server. Your Arma Reforger server should now load the new mission.
Did the above information not work for you? Please contact our support via a ticket.

