
This guide will show you how to kickstart your 7 Days To Die server.
You can upload your own world using FTP. However, please note that 7 Days to Die saves are quite large, so uploading them will take some time.
You can upload your own world using FTP. However, please note that 7 Days to Die saves are quite large, so uploading them will take some time.
It is recommended to use FileZilla to transfer files between your computer and the server. Please follow the instructions below:
1. Log in to your Game Control Panel.
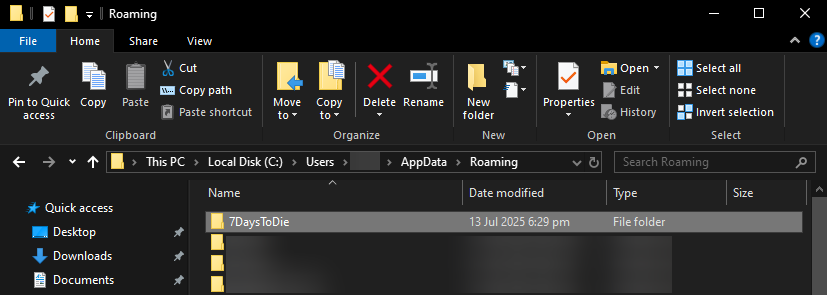
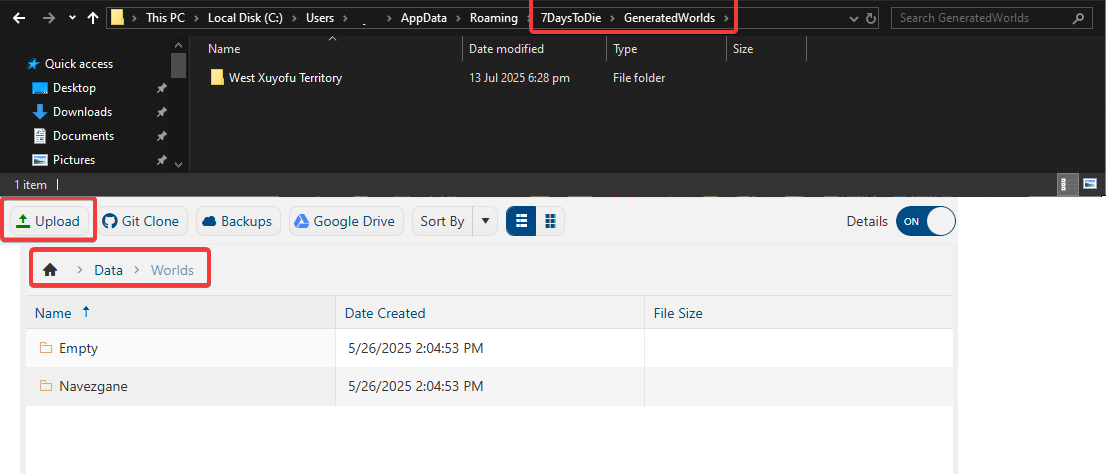
2. Open your computer's File Explorer, then navigate to C:\Users\%user%\AppData\Roaming\7DaysToDie
to <Home>/Data/Worlds in the File Manager tab in your Control Panel.
4. Upload just the Saves folder from the previous world in C:\Users\%user%\AppData\Roaming\7DaysToDie\Saves
and upload it in <Home>/Saves in the server's File Manager in the Control Panel.
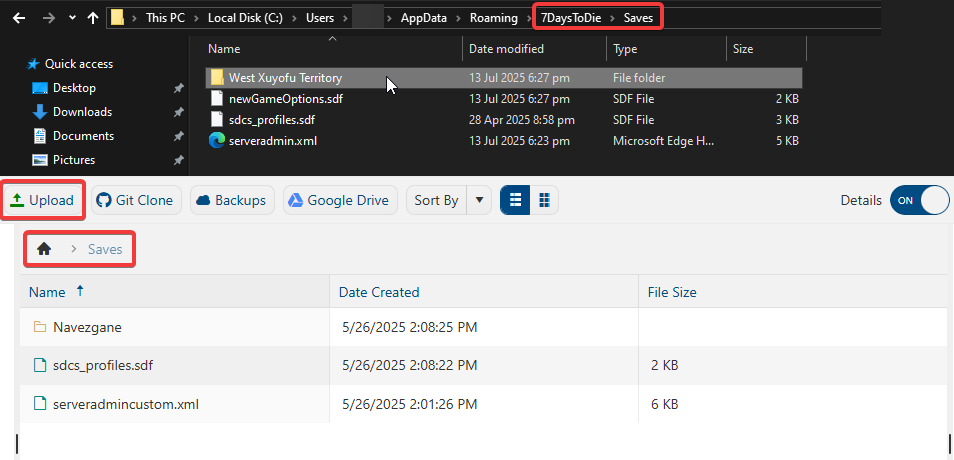
5. Now open the Saves folder of that world and copy the name of the save file within.
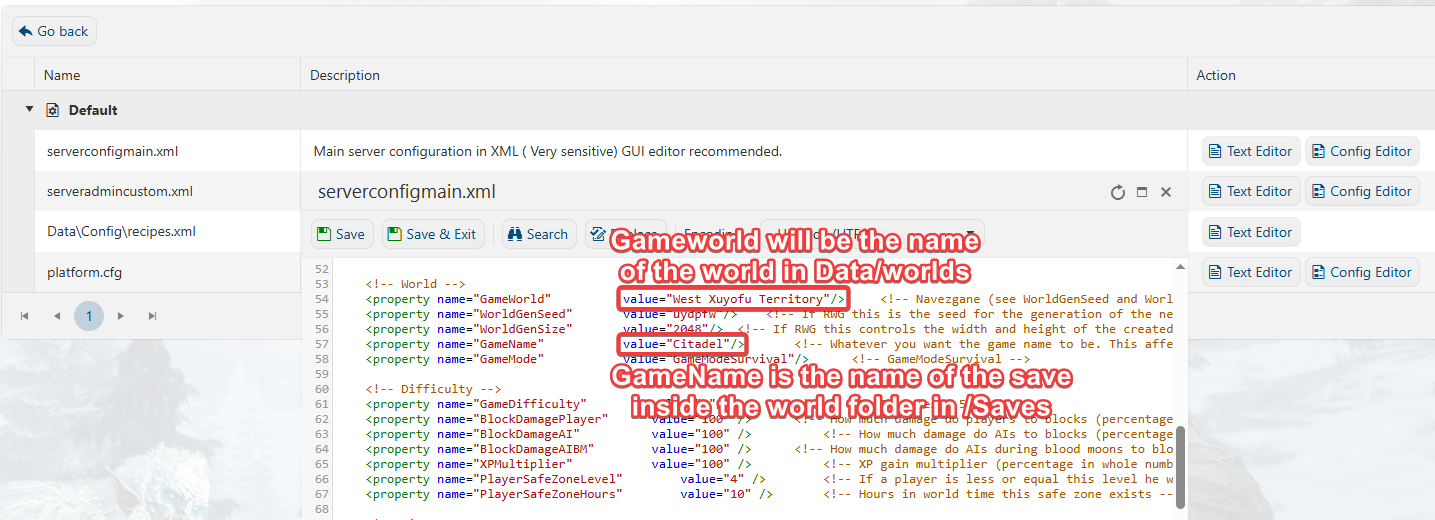
6. Navigate to the Configuration Files on your server, choose the serverconfigmain.xml file's Text Editor.
Scroll down to find the World section, and edit the GameWorld and GameName lines respectively.
The Game world will be the name of the generated world while the game name will be the save file's name.
7. Start your server and test to see if the world loaded.
Did the above information not work for you?
Please click here to contact our support via a ticket.
to <Home>/Data/Worlds in the File Manager tab in your Control Panel.
4. Upload just the Saves folder from the previous world in C:\Users\%user%\AppData\Roaming\7DaysToDie\Saves
and upload it in <Home>/Saves in the server's File Manager in the Control Panel.
5. Now open the Saves folder of that world and copy the name of the save file within.
6. Navigate to the Configuration Files on your server, choose the serverconfigmain.xml file's Text Editor.
Scroll down to find the World section, and edit the GameWorld and GameName lines respectively.
The Game world will be the name of the generated world while the game name will be the save file's name.
7. Start your server and test to see if the world loaded.
Did the above information not work for you?
Please click here to contact our support via a ticket.
