
This guide will show you on how to Add/Remove Admins on your Core Keeper Server
Looking for a Core Keeper server? Click here to order your Core Keeper now
Assigning or removing admins on a Core Keeper game server is a crucial decision that should align with the server’s goals and community dynamics. Appointing new admins can improve server oversight, broaden administrative capabilities, and ensure better support coverage. However, removing an admin may become necessary if they misuse their authority, remain inactive, neglect responsibilities, or present a conflict of interest. Thoughtful management of admin roles helps maintain a balanced and well-governed server environment.
Adding Admins on your Core Keeper
1. Log in to your Game Panel to start your server.
2. Before making any modifications, stop the server from running by clicking the Stop button.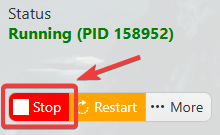
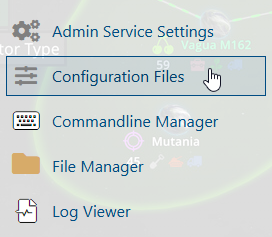
3. Navigate to the Configuration Files section.
4. On the Configuration Files, look for the savedata\dedicatedserver\Admins.json file and click the Text Editor beside the Config Editor.
5. On the Admin.json file, add all the players/users that you wanted to be Admins of your server.
Follow this format.
{
"index": 2,
"privileges": 2,
"name": "[Player Name]",
"steamId": [SteamID]
}
"index": - Incremental for each new admin (Ex: "index": 3, for a third admin)"steamId": - Input for each admin added
Separate admins with a comma after the closing curly bracket.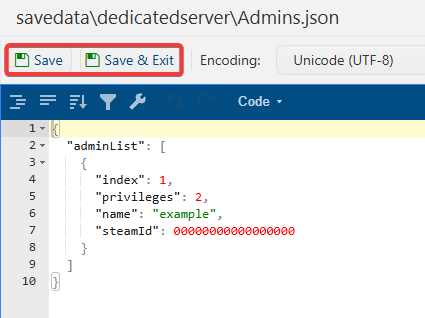
6. After the configuring, click the Save to apply the changes.
Did the above information not work for you?
Please click here to contact our support via a ticket.
