
This guide will show you how to make yourself Admin for Steam and Epic in 7 Days to Die
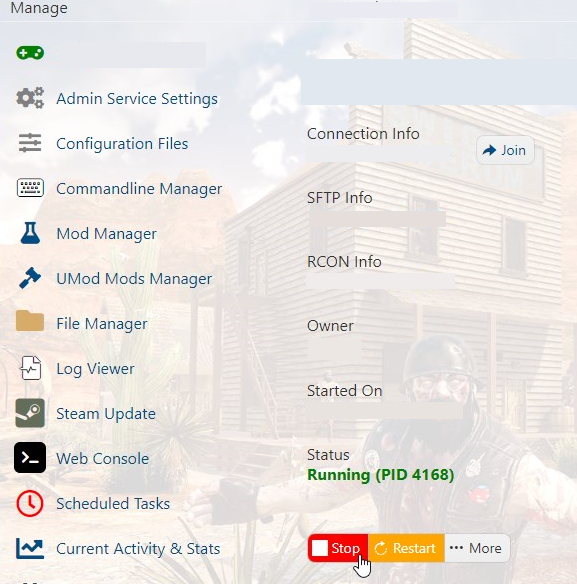
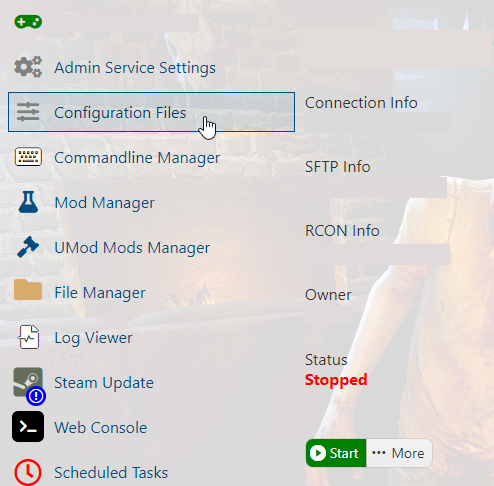
2. Next up, click on Configuration Files.
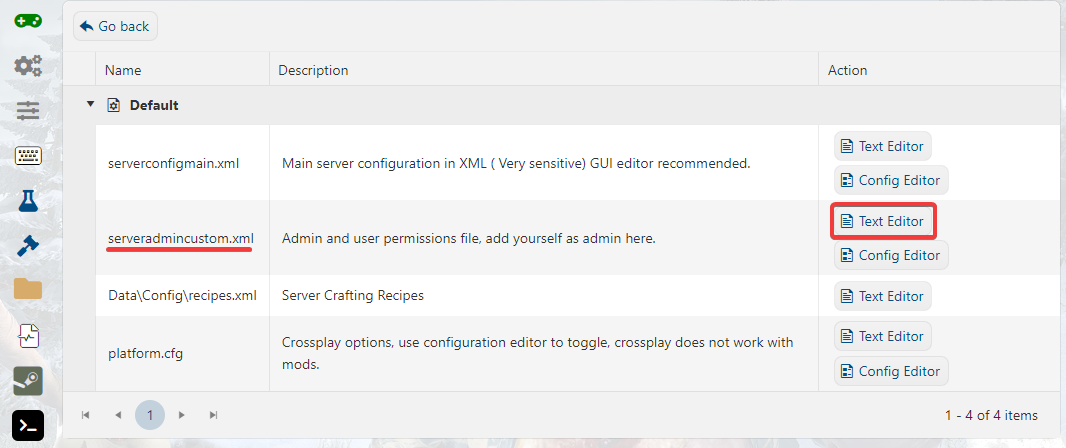
3. Click the Text Editor button for the serveradmincustom.xml file.
You will see the following line:
3. Click the Text Editor button for the serveradmincustom.xml file.
You will see the following line:
<adminTools> <!-- Name in any entries is optional for display purposes only --><admins><!-- <user steamID="76561198021925107" name="Hint on who this user is" permission_level="0" /> --><!-- <group steamID="103582791434672565" name="Steam Universe" permission_level_default="1000" permission_level_mod="0" /> --></admins>
4. Add the following line in between the <admins> and </admins> for Steam admin (Find your SteamID64 using this link: https://steamid.io/lookup):
<user platform="Steam" userid="YourSteamID64Here" permission_level="0" />
or add the following line for an Epic admin:
<user platform="EOS" userid="YourEpicOnlineServicesIDHere" permission_level="0" />
FOR SERVERS RUNNING BELOW ALPHA 20.4, ADD THE FOLLOWING LINES:
<admin steamID="76561198081237071" permission_level="0" />
5. Click save, and start your server, you should now be admin.
Did the above information not work for you?
Please click here to contact our support via a ticket.
