How To Set Up Your Don't Starve Together Caves Server
Don't Starve Together supports caves. This guide will explain how the caves support works and how to set it up on your server.
There are two versions of caves; a caves only server instead of the forest/overworld which only requires one server, and a multi-level server where you will need to rent two servers from us, one acting as the Master server (aka forest/overworld) and one as the Slave server (aka caves).
Setting up a "Caves Only" server
For a caves only server you'll need to generate the caves world.
3) Set "Server World Type" to "Caves".
-
- shard_enabled = true
- bind_ip = 127.0.0.1 (NOTE: This should always be "127.0.0.1")
- master_ip = 127.0.0.1 (NOTE: This should always be "127.0.0.1")
- master_port = Server's Master Port (NOTE: You can find your server's master port in "ServiceSettings.cfg" in your "Configuration Files")
- cluster_key = thisshouldmatchallshardservers
- server type = Caves
-
- is_master = true
- name = Caves
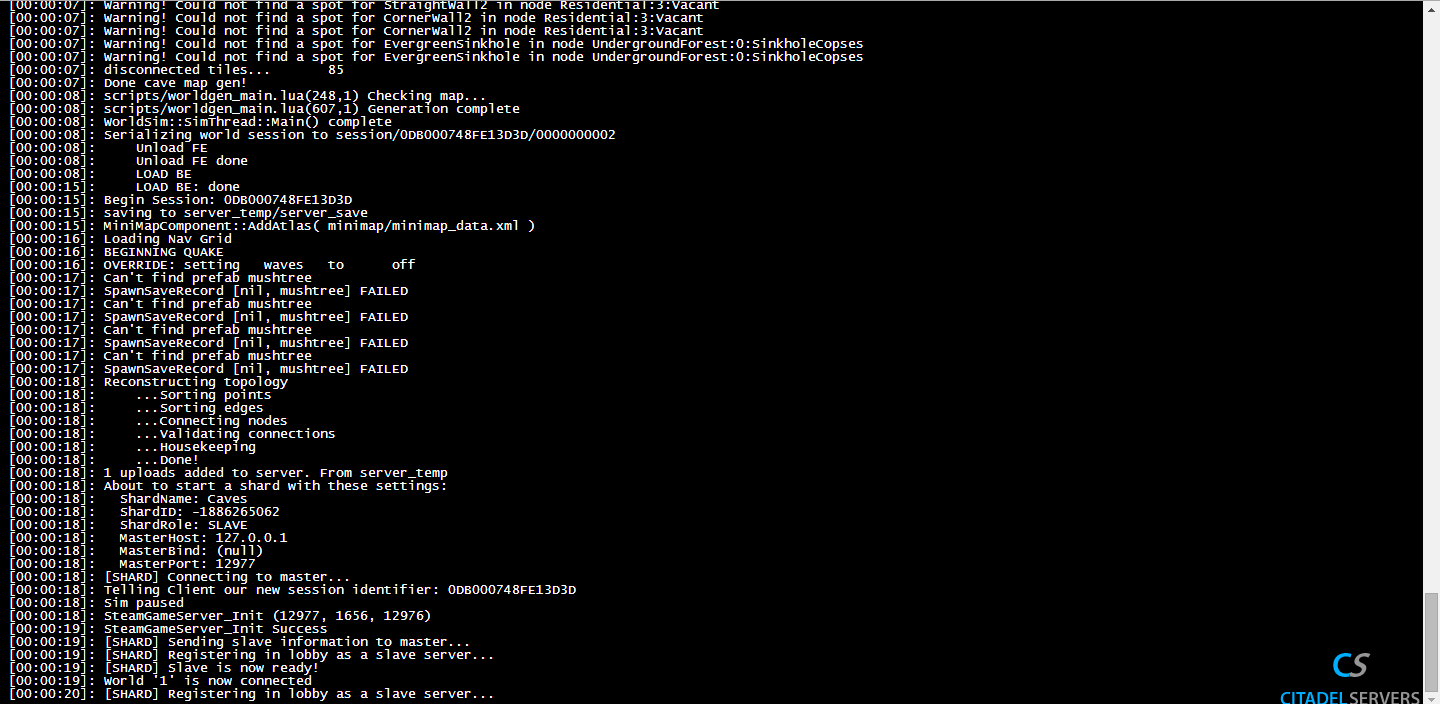
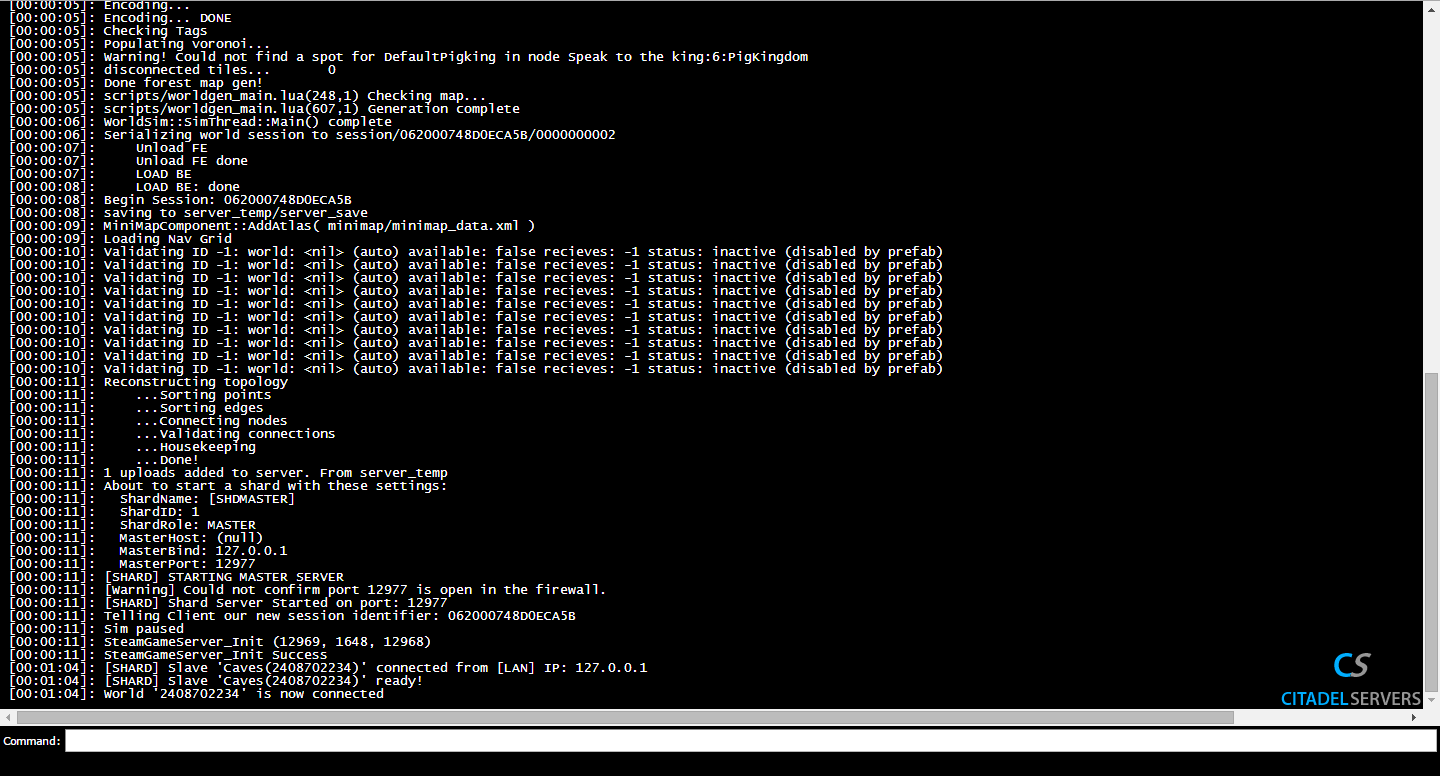
You'll need to run two instances of the server, one for the forest/overworld (this will be your Master server) and one for the caves (this will be your Slave server). Players migrate back and forth between these servers to use the caves. Before you do proceed, make sure that both servers' token are set. Click here for the guide.

2) Locate and open "ServerFiles\DoNotStarveTogether\Server\cluster.ini" on both servers.
- shard_enabled = true
- bind_ip = 127.0.0.1 (NOTE: This should always be "127.0.0.1")
- is_master = (NOTE: True for Master; False for Slave)
- master_ip = 127.0.0.1 (NOTE: This should always be "127.0.0.1")
- master_port = Server's Master Port (NOTE: You can find the master port in "ServiceSettings.cfg" in your "Configuration Files" on your Master server. This port has to be your Master server's port on both servers.)
- cluster_key = thisshouldmatchallshardservers
- name = DST Server
- Server Type = (NOTE: Set accordingly if Master or Slave)
- is_master = true
- is_master = false
- name = Caves

13) You'll have to regenerate the Master server by typing "c_regenerateworld()" into the in-game console or the "Web Console" to spawn cave entrances. Alternatively you can use "c_spawn('cave_entrance')" instead if you really want to preserve your existing world.
1) To update your world in DST A New Reign Beta, stop both servers in the Game Panel.
2) Then click on the top one, which is the Master server.
3) Go to mod manager and install a new reign beta, then in game panel, Click on "Update to DST ANR Beta" if that is what you're playing and have not done this yet.
4) After this point, most of the interface won't be useful because they're for the base game.
5) Don't use the Configurations Files interface icon, it's not for the beta.
6) The Log Viewer icon is also not for the beta.
7) Use File Manager in the Game Panel, then go to ServerFiles/DoNotStarveTogetherANewReignBeta/Server/Master
8) Click on the box for the save folder, then click delete button to erase the old world files.
9) Go back up one folder to Master. Edit worldgenoverride.lua directly here to change world settings.
1) Go back up one folder to Server. Edit cluster.ini here with the pencil icon to add world flavor text, and a password if you want the world to be password protected.
Wrong Master Port: Make sure both servers are using the Master server's port.
Wrong IP Address: Both servers should use "127.0.0.1" local IP as they should be on the same IP address.
Not on the same dedicated server: Both servers should be on the same dedicated server, this removes any latency delays and improves connectivity. If they aren't on the same dedicated server, please contact our support.
