Updating Project Zomboid Server to IWBUMS
Revision as of 18:54, 6 August 2019 by Alvin singco s (talk | contribs) (Created page with "<div><strong><span style="font-size: medium;">Updating your Project Zomboid Server to IWBUMS<br /><br />Note:</span></strong><span style="font-size: medium;"> </span><span st...")
Updating your Project Zomboid Server to IWBUMS
Note: It is highly recommended to stop the server before making the changes shown in this guide.
In this article, we will show you how to update your Project Zomboid server installation to the IWBUMS beta build.
This beta build does add in features not released yet, but as with any beta build, expect things to be broken or buggy.
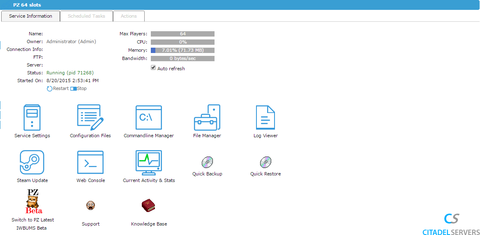
To begin, you must be logged into the game panel for your server.
Then we need to go into the File Manager tool, and delete all of the files on the installation.
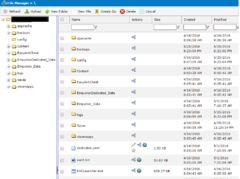
File Manager
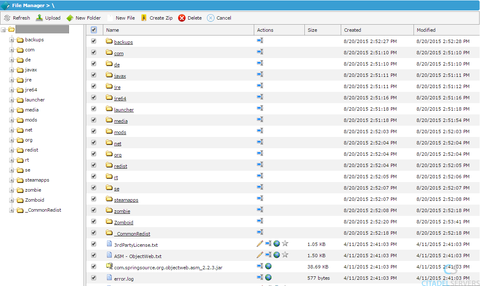
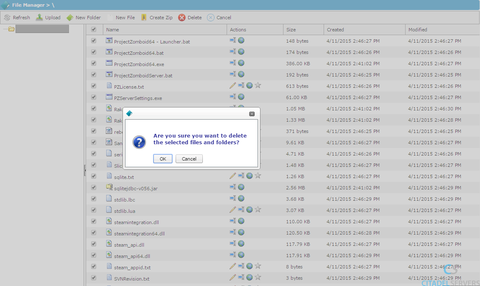
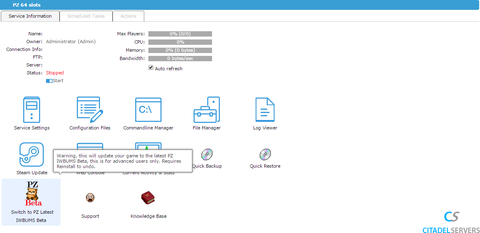
Once that is done, hop back to the main page of the panel, and click the Switch To Latest PZ IWBUMS Beta.

Switch To Latest
PZ IWBUMS Beta
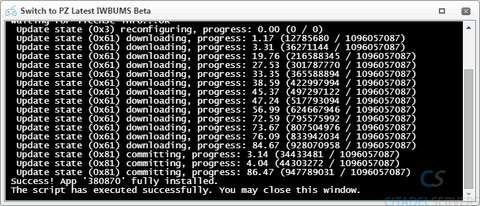
Once you have begun the update, a command console should pop up and run the update.
After that, go to the Commandline Manager to select the IWBUMS commandline.

Commandline Manager
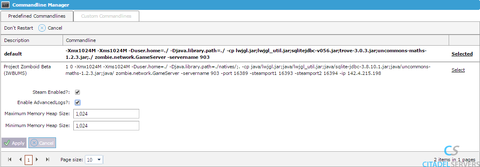
Apply the changes, and your commandline should like as such is shown below.

Your server is now running the latest Project Zomboid IWBUMS Beta build.
Note: It is highly recommended to stop the server before making the changes shown in this guide.
In this article, we will show you how to update your Project Zomboid server installation to the IWBUMS beta build.
This beta build does add in features not released yet, but as with any beta build, expect things to be broken or buggy.
To begin, you must be logged into the game panel for your server.

Then we need to go into the File Manager tool, and delete all of the files on the installation.

File Manager


Once that is done, hop back to the main page of the panel, and click the Switch To Latest PZ IWBUMS Beta.
Switch To Latest
PZ IWBUMS Beta

Once you have begun the update, a command console should pop up and run the update.

After that, go to the Commandline Manager to select the IWBUMS commandline.

Commandline Manager

Apply the changes, and your commandline should like as such is shown below.

Your server is now running the latest Project Zomboid IWBUMS Beta build.