Difference between revisions of "Accessing and Enabling Killing Floor 2 WebAdmin"
(Created page with "<div style="text-align: center;"> </div> <div style="text-align: center;"><span style="font-size: medium;"> Step 1:</span></div> <div style="text-align: center;"> </div> <d...") |
|||
| Line 57: | Line 57: | ||
bEnabled= "True" // This enables this admin</pre> | bEnabled= "True" // This enables this admin</pre> | ||
<p> </p> | <p> </p> | ||
| + | |||
| + | [[Category:Killing Floor 2]][[Category:Killing Floor 2 Server Help Articles]] | ||
Latest revision as of 15:06, 21 July 2019
In the [IpDrv.WebServer] section set:
bEnabled=true
Hit "Save"
Your Killing Floor 2 Console is now enabled.
Restart your server for the Web Console to come online.
Accessing the Killing Floor 2 Panel
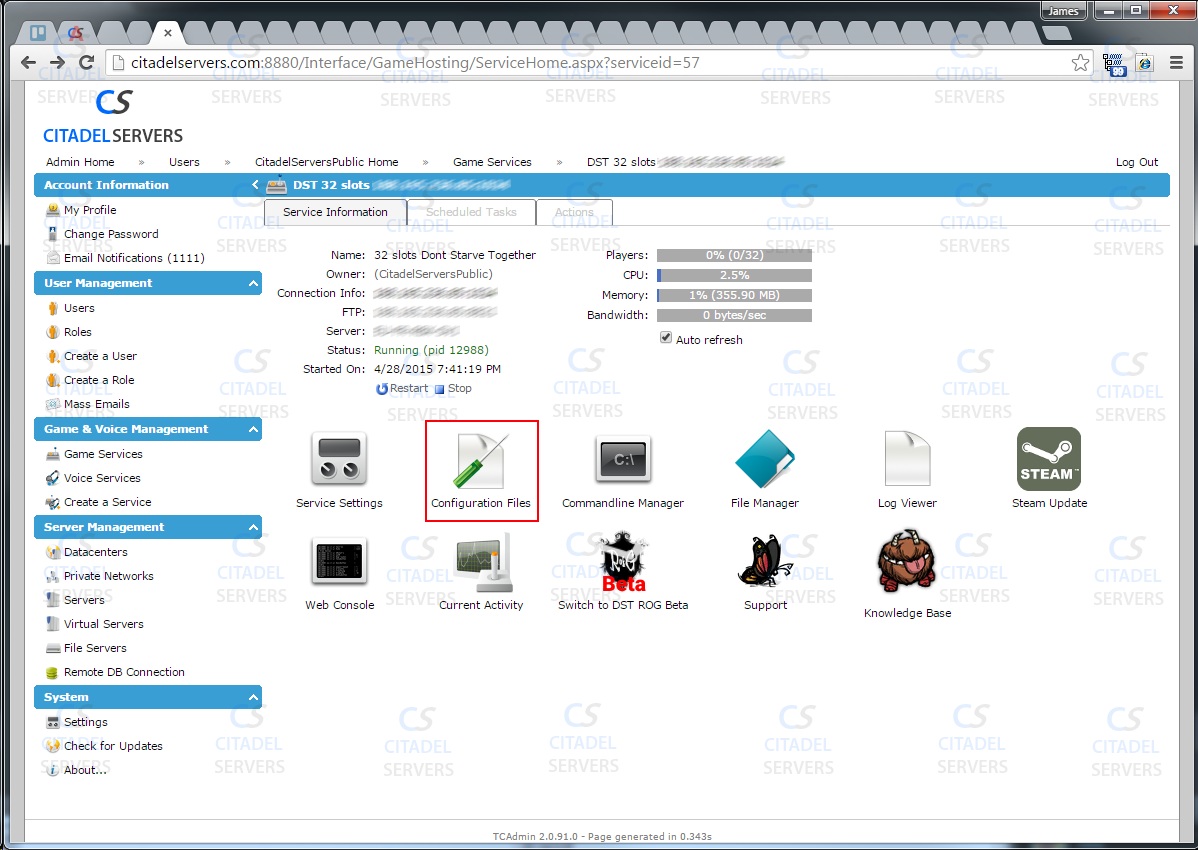
To Access the Killing Floor 2 Panel, go to the main overview of your server\ Game panel main menu.
You will see the icon:
Click this and it will take you to the Killing Floor 2 Control panel.
Killing Floor 2 Control Panel Credentials
The Default username for the panel is:
"admin"
The default Password is located in your the configuration files too this is called:
" KFGame\Config\PCServer-KFGame.ini"
Access this file and find the following line:
AdminPassword=examplepass
Change this password to whatever you like.
Setting up multiple web adminsOpen KFWebAdmin.ini and add the following under [WebAdmin.WebAdmin]:
AuthenticationClass=WebAdmin.MultiWebAdminAuth
Start the server once to generate a new MultiAdmin.ini. Now you can either add new admin names and passwords from within the Web Admin itself, or you can add them manually in the file.
To do so add the following information for each admin under [Admin MultiAdminData] in MultiAdmin.ini
DisplayName=			"AdminNameHere" // Punctuation does matter for these names
Password=			"123" // Any alpha numeric set of characters will work here
Order=				"DenyAllow"
bEnabled=			"True" // This enables this admin
